Showing posts with label Stuff I made. Show all posts

20 July 2012

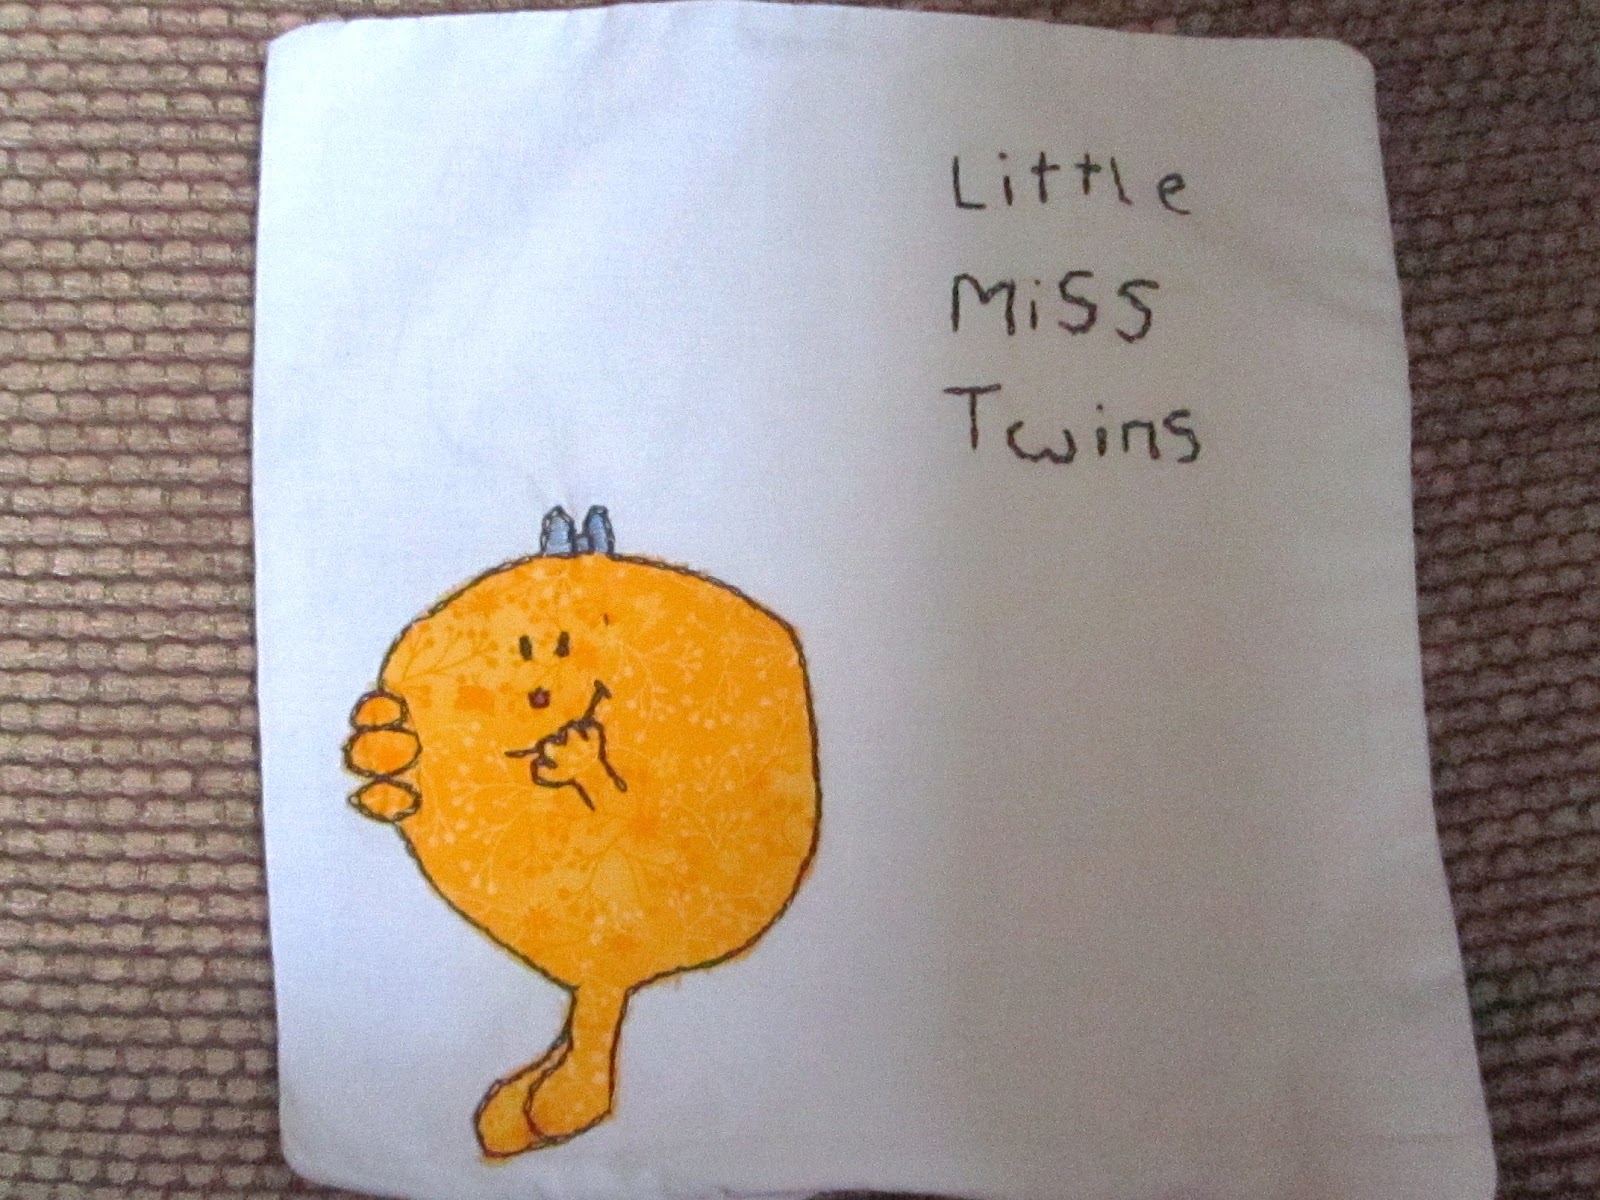
Little Miss Twins: A pair of cushions

 Here's something I haven't posted for a while, some sewing, but yesterday I finished this pair of cushions for the twin nieces of a friend of mine who turned one this past week. She doesn't see them until the next week so I finished them in time for her. 
 Book related cushions seem to be a reasonable thing to post on a book related blog. The black embroidery was pretty much all done using chain stitch, while the nose, bow and eyes were all infilled with satin stitch.
I've previously made three different cushions along these lines, all as gifts, two of which I haven't posted about, but I did share my Little Miss Chatterbox Cushion.


I'm linking up to Can I get a Whoop Whoop @ Confessions of a Fabric Addict and my whoop request is mainly for the fact I managed to fix some zips into these!


Rowen

23 January 2012

My First Quilt - The work of 2011

These are the squares for my first Quilt which I managed to get finished last year. 
The centre of this one was actually from the lid of a Jar of Jam my boyfriend bought me.


There will be 23 of these hearts.

There will be 24 of these friendship stars.


This centre was some curtain fabric my mum was sampling.

This centre was some curtain fabric my mum was sampling.


This heart is the wrong way round, I made a piecing error, but I think it'll add some quirkiness that I at least will love to look for.


This centre was some curtain fabric my mum was sampling.


I have no idea where this centre fabric came from but I used to use it to make barbie things as a child learning to sew.


This block will be unique in the quilt as my signature block, My thread ran out and I really should get round to finishing it, it's just laziness as there're only about 3-5 loops of chain stitch to complete it. It's the crest of my Guild in World of Warcraft, which I happen to think looks really pretty.


It doesn't look like it at the moment but I'm actually hoping the quilt will be primarily bluey green. Hopefully it will tend that way more with the completion of the heart and star blocks. Also I'll hopefully also become more selective with the fat quaters I pick.

Rowen

20 January 2012

My First Quilt - Project 2012

Just over a year ago, maybe a fortnight before the end of 2010 I decided I wanted to sew something worthwhile that I could take around and use to destress a bit. Enter major, over-reaching Idea, I wanted to make a quilt. Would any old quilt do for me, no, I decided I was going to handsew a king-size quilt, because people were doing it for hundreds of years so there's no reason I couldn't right?

As a kid I liked to sew, we used to go to my grandparents every morning before school and I had my own sewing box there, it sat on top of my Nan's. I started all kinds of projects, the only ones I really finished were some cross-stitches and some dolls cushions. But my Nan used to cut up table cloths and tea towels for me to mess around with. I loved sewing them together and seeing what I could make. In hindsight perhaps my favourite part was embroidering, I did some samplers, but was somewhat hampered by only knowing two stitches.

Fast-forward about a decade from my first learning to sew and my project has evolved into 214 6 inch quilt sqaures which I planned to make during the next year. This went less well than anticipated, I got through about 30 of them, not bad, but not nearly as well as I'd planned.

So this year my project is to at least finish the front of this quilt, I plan to make approximately 3-5 a week, and hopefully show them off on sundays.

I hope you enjoy seeing what I've done.

Rowen

4 January 2012

Winter Cushion

I mentioned a while back the Autumn cushion that I'd made as a Christmas present, and the three I intended to make to go with it, well I did make them, borrowing my mum's machine to speed up the process a little.

This Cushion is basically the same layout as the Autumn Cushion, and the tree is intended to be the same. I made a few errors while piecing so that some of the patchwork squares are in the wrong places, but overall it turned out well.


Instead of a pile of leaves the focal point of this cushion, and what makes it signify winter is the snowman. However I did the snowman using a blanket stitch, to try and imply snowy spaces, and the connecting stitches slid to the inside. 


Giving my snowman a rather spiky look.

Even so I'm pleased with it as I think you can still tell it is a snowman.

Rowen

26 November 2011

Autumn Cushion

I was inspired to make this cushion, which is going to be part of a set for my aunt, uncle, cousin and her husband for Christmas this year, by looking at all the trees which appeared in the Celebrate Colour contest as soon as it opened.

Being typically myself I procrastinated in starting the cushion, which wouldn't have been a big deal, except that I want to enter it into the Celebrate Color competition at Stitched in Color. The other issue is that although the competition ends tonight I only started it on tuesday, which causes major time issues when you're also revising for an exam and have no machine with which to do the piecing, it's not out of objection that I don't have a machine, but that as a student I can't afford one, and I find hand-stitching quite peaceful most of the time.


So I cut out my pieces, of which there are a grand total of 28 and started stitching the front together. I put the four non-descript pairs in the borders and a half of each of the 'seasonal' pairs in the corners. The Butterflies represent summer, the budding leaf pattern spring, the Snowflakes winter and the Ivy leaves autumn. It was essential these fabrics were highlighted in some small way as the set of cushions will eventually consist of Summer, Spring, Autumn and Winter.

Once I'd pieced the centre of the front I drew out my pattern on some squared paper that I use for my maths work and pinned it to the space which needed to be embroidered.  


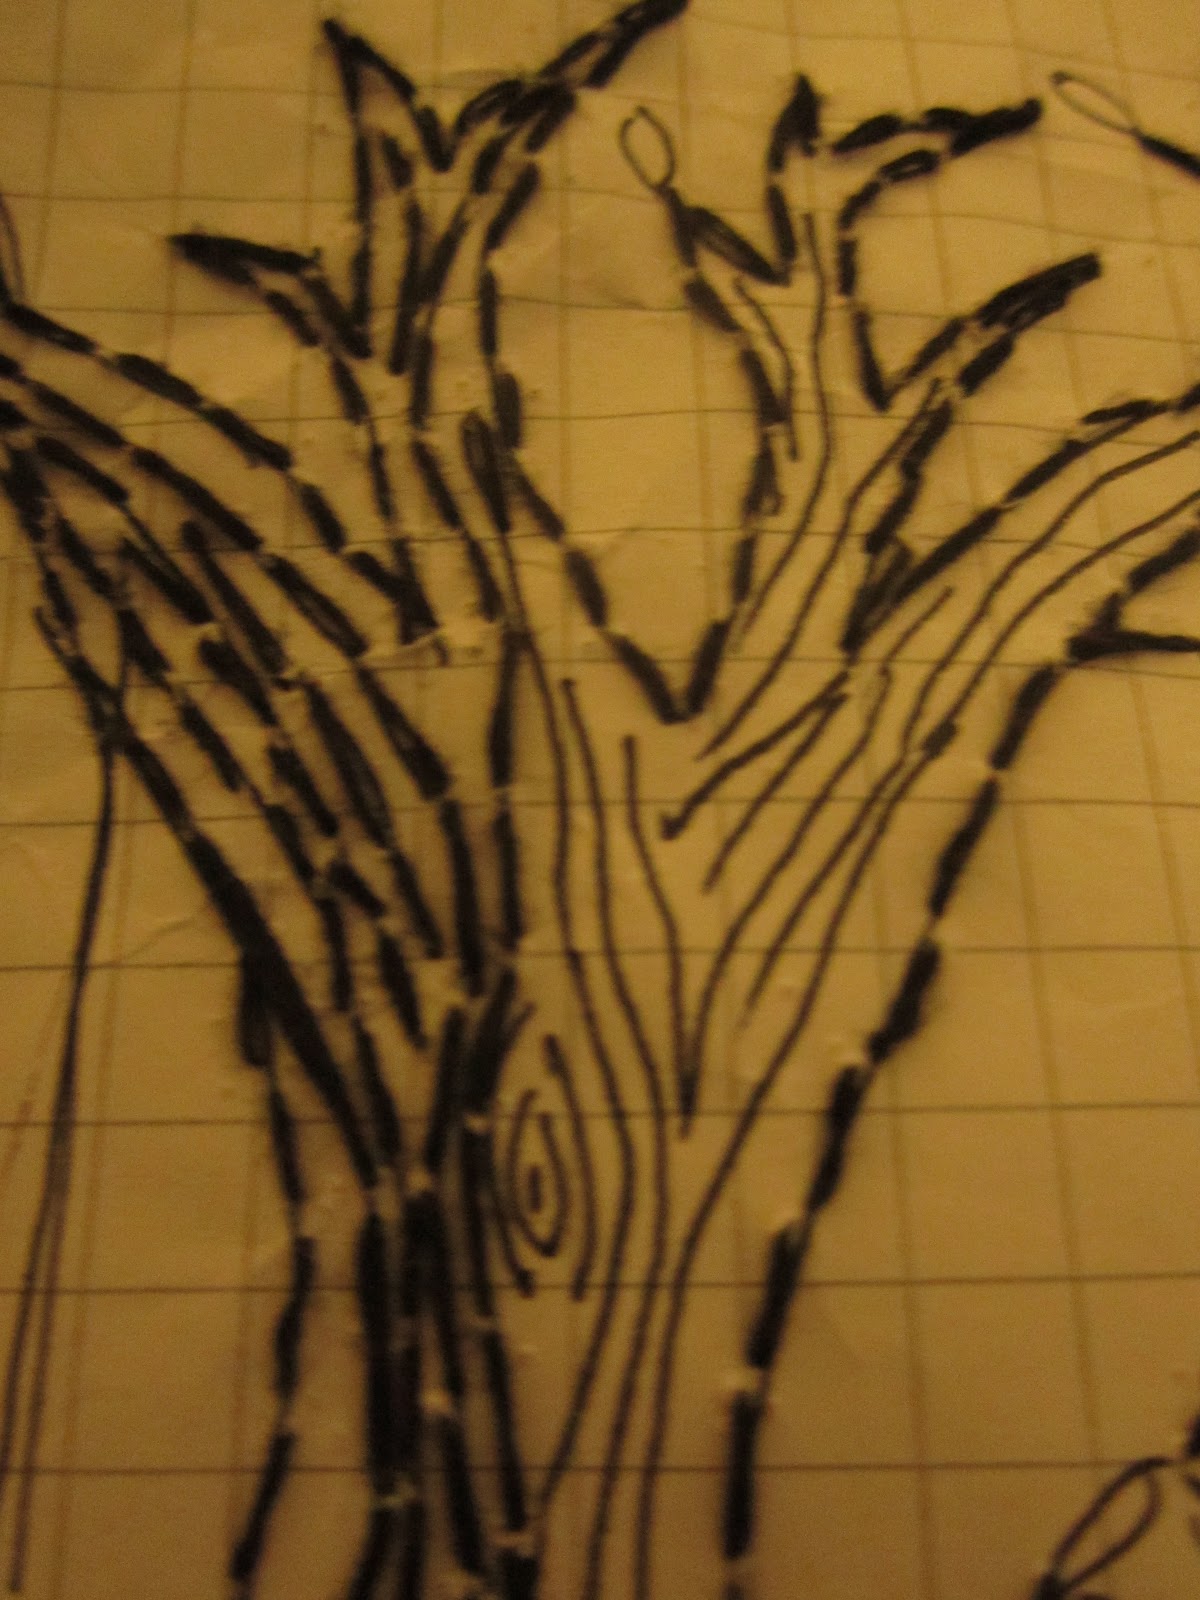
I did the embroidery through the paper to use it as a guide, although I discovered a major issue that it can cause. I started by stitching the grass in a green thread and then outlined the tree in black, both were done using a simple running stitch.


The next stage was to infill the tree's 'bark', also in the black thread and running stitch. It was at this stage the problems started to arise as I realised I needed to remove the paper from beneath the embroidery, however the stitches in places were close enough togethe that this was practically impossible.

 When It was time to do the leaves, in a metallic orange thread, using a satin stitch, I cut a guideline area out of the paper before starting, a much better idea!

 Eventually I completed the embroidery, this part didn't actually take too long, maybe a couple of hours. To remove all traces of the paper I actually had to wet the fabric and rub it off the front, fortunately for me this worked and didn't cause ink from the pen I'd used to run onto the fabric.

 I was very impressed with how the tree turned out. The bark looked so realistic and the whole of it, except maybe the grass really contrasted with the general beigeness being used for the rest of the cushion. Exactly what I was aiming for as it really focused the eye.
 I'm actually in love with the colour of the leaves. So glad I found that thread!

 The next stage was to attatch the final border to the front of the cushion. The border fabric, also used in the centre, was from a pair of curtains I bought from the second hand shop where I worked over the summer. I was really concerned with how they'd hold up to my hand stitching but they surprised me :)

I pieced the back as well. this consisted of the same four focus fabrics appearing in the same size, order and places as on the front of the cushion. The rest of the back was made from the curtain material.

 After pieceing both front and back I pressed them, always makes a difference. Although I never press fabrics as I go along  I always do before putting the front and back together.

 The cushion was then pinned for the most time consuming part. Putting it together. I tacked with a loose running stitch from the bottom of the left hand seam, around both sides and the top to the same place on the other side. I then tidied it up with a tighter running stitch back the other way. This is the way I do pretty much all of my seams. At this point I turned it right way out and stuffed it, using the contents of a pillow I'd bought. I then pinned the back closed and finished off the last stretch of seam with a slip stitch.

I love how it turned out, I keep saying it but it's true, and I'm a tad disappointed I can't keep it, but I'm fairly sure my aunt will treasure it.

When I stitch I double all of my threads up to hopefully make them stronger and more contrasting. I think all of the threads that I used for embroidery were actually intended for machine stitching, however the orange and green came out of the bargain bucket because of broken spools and the black belonged to my mum but she doesn't sew often.

Hopefully this will link with Stitched in Color and I'll try and find the button.

Rowen